What do you do when you try to unprotect the worksheets from within an Excel spreadsheet but you don’t have the password to unlock them?
Unfortunately, there is no quick and simple answer nor an easy way for you to view or recover that forgotten password.
Microsoft's official stand on this matter is: [Protection and security in Excel]

Recover a password to open a workbook or worksheet

Excel lets you password protect your workbooks, and your worksheets. But, it’s easy to forget or misplace your passwords. Unfortunately, if that’s happened to you, we don’t have a way to help you recover a lost password.

Excel doesn’t store passwords where you or Microsoft can look them up. That’s also true for the other Office programs that let you protect files. That’s why it’s always a good idea to store your passwords someplace safe.

Some third-party companies offer programs for unlocking files. For legal reasons, we can’t recommend those programs. You can try them, but at your own risk.
So what do you do if you have lost the password to unprotect an excel worksheet?
The method used to unlock your spreadsheet will differ depending on which version of Excel your spreadsheet was saved.
Microsoft Excel 2010 and earlier spreadsheets
Right up until Microsoft Office 2010, Excel utilised an outdated 16-bit hash algorithm to protect the worksheet and workbook passwords within a spreadsheet. The workbook structure and worksheet protection passwords can be removed in seconds by using simple VBA code brute force attacks. See Method 1 following.
Method 1 – Use VBA Code to unlock an Excel worksheet – Microsoft Excel 2010 or earlier
Microsoft Excel 2013 to present spreadsheets
In 2013, Microsoft decided to fix this security loophole and introduced security changes to strengthen the protection used to lock Excel workbooks and worksheets. From Excel 2013 (to present day versions), Excel uses a SHA-2 class, SHA512 algorithm to calculate the hash values for worksheet passwords. These ‘salted’ hashes now means worksheet protection can no longer be cracked using the simple VBA code brute force attack methods.
Method 2 – How to unlock an Excel worksheet – Microsoft Excel 2013 to present
Method 1 – Use VBA Code to unlock an Excel worksheet – Microsoft Excel 2010 or earlier
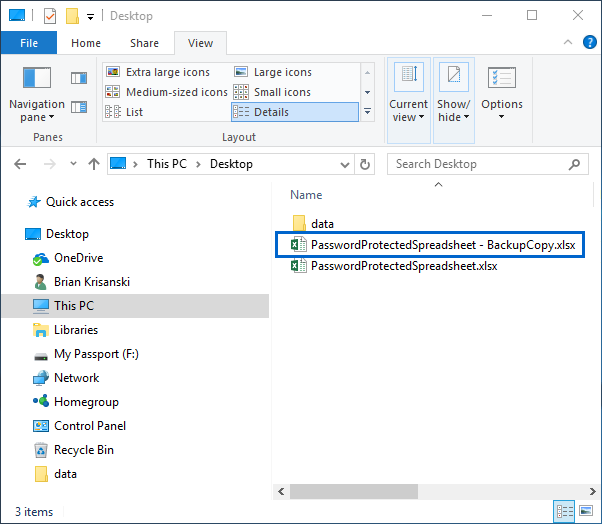
BEFORE you start… Always make a backup copy of your spreadsheet. While the following steps will do nothing to the data in your spreadsheet, it NEVER hurts to be cautious and have a copy of your original document – “just in case…”
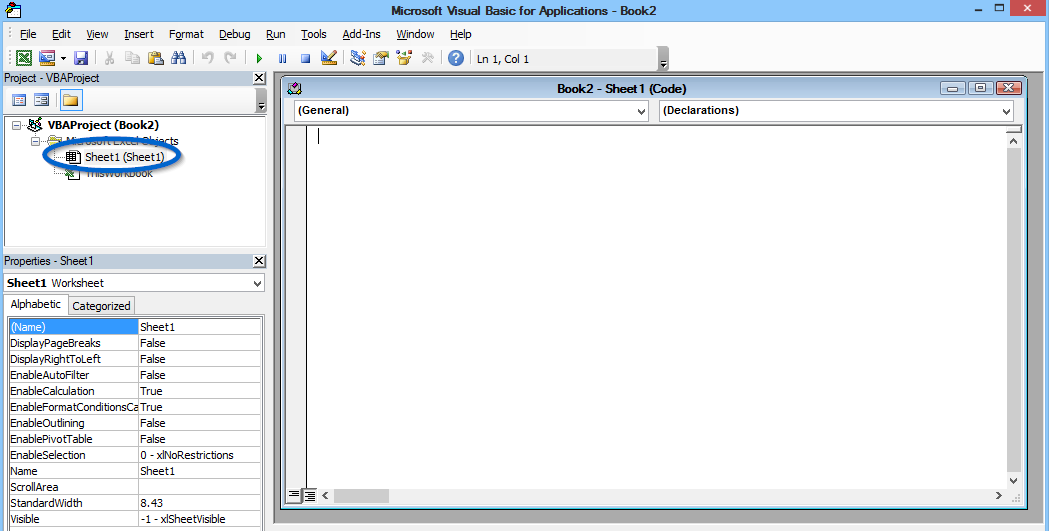
Step 1 Press ALT + F11 or click View Code on the Developers Tab

Step 2 Double click on the worksheet that is password protected.
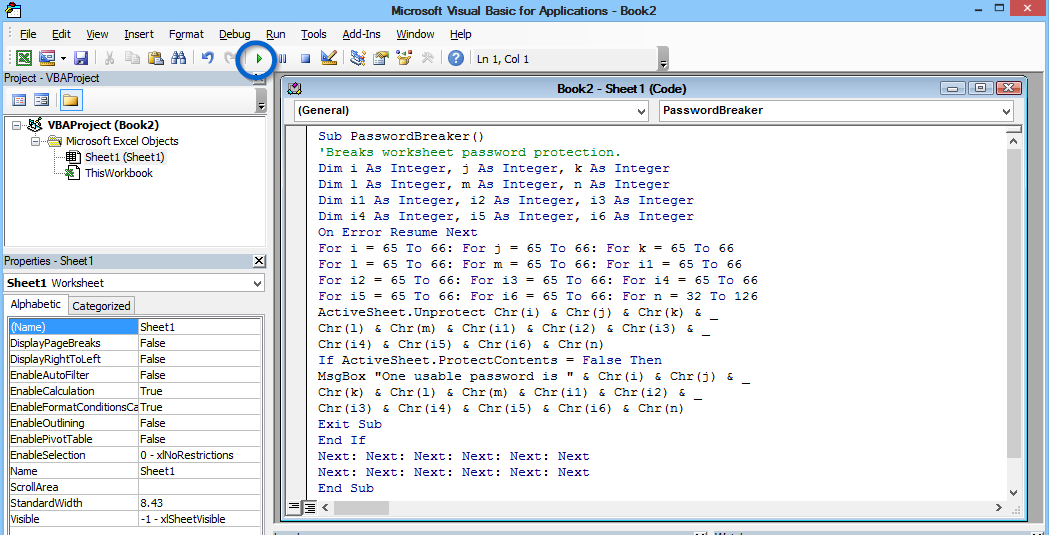
Step 3 Copy and paste the code below into the (Code) window. Do not change any of the code, just copy and paste it.
Sub PasswordBreaker()
Dim i As Integer, j As Integer, k As Integer
Dim l As Integer, m As Integer, n As Integer
Dim i1 As Integer, i2 As Integer, i3 As Integer
Dim i4 As Integer, i5 As Integer, i6 As Integer
On Error Resume Next
For i = 65 To 66: For j = 65 To 66: For k = 65 To 66
For l = 65 To 66: For m = 65 To 66: For i1 = 65 To 66
For i2 = 65 To 66: For i3 = 65 To 66: For i4 = 65 To 66
For i5 = 65 To 66: For i6 = 65 To 66: For n = 32 To 126
ActiveSheet.Unprotect Chr(i) & Chr(j) & Chr(k) & _
Chr(l) & Chr(m) & Chr(i1) & Chr(i2) & Chr(i3) & _
Chr(i4) & Chr(i5) & Chr(i6) & Chr(n)
If ActiveSheet.ProtectContents = False Then
MsgBox "One usable password is " & Chr(i) & Chr(j) & _
Chr(k) & Chr(l) & Chr(m) & Chr(i1) & Chr(i2) & _
Chr(i3) & Chr(i4) & Chr(i5) & Chr(i6) & Chr(n)
Exit Sub
End If
Next: Next: Next: Next: Next: Next
Next: Next: Next: Next: Next: Next
End Sub
Step 4 Click on the Run Button or press F5.
And that is it.
If this method worked and was able to unprotect your worksheet, a small dialogue window will pop-up stating:
“One usable password is XXXYYYZZZXXXY”.
Method 2 – How to unlock an Excel worksheet – Microsoft Excel 2013 to present
BEFORE you start… Always make a backup copy of your spreadsheet. While the following steps will do nothing to the data in your spreadsheet, it NEVER hurts to be cautious and have a copy of your original document – “just in case…”
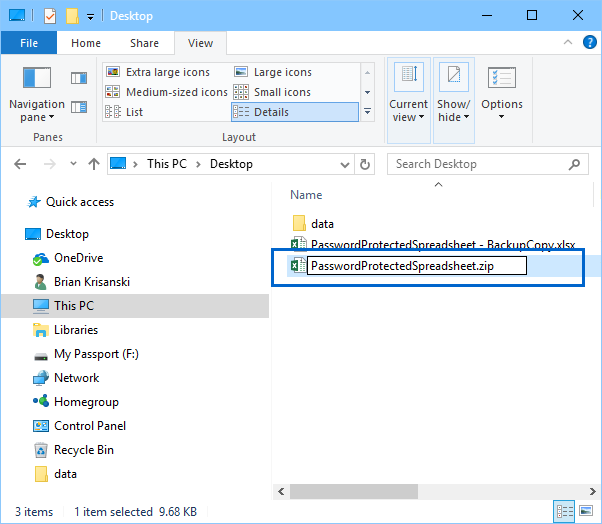
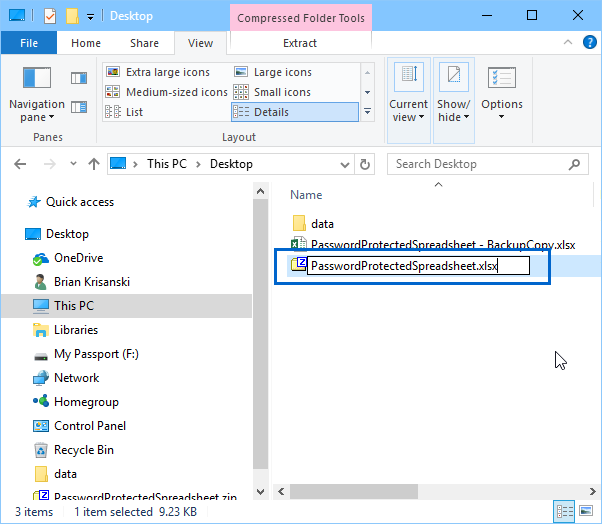
Step 1 Rename the extension of your spreadsheet from *.xlsx to *.zip.
This process works exactly the same if your file contains macros and is saved with the *.xlsm file extension. Simply rename the extension of your spreadsheet from *.xlsm to *.zip and continue with Step 2.
NB: If your file is in binary format (i.e. *.xlsb), before renaming your file to *.zip, you must first open the spreadsheet in Excel and Save As… to *.xlsm format. Once your spreadsheet is in *.xlsm format, you can then rename it to *.zip and continue with Step 2.
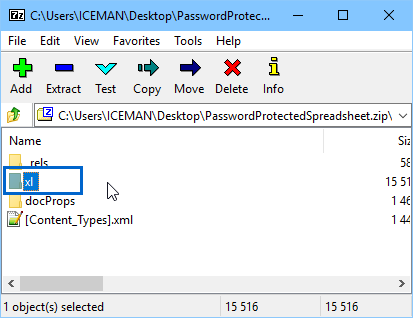
Step 2 Open the “ZIP” file in any file compression software of your choice. There are many free software versions available for download on the Internet – we personally like using 7-Zip (click here to download a free copy of 7-Zip).
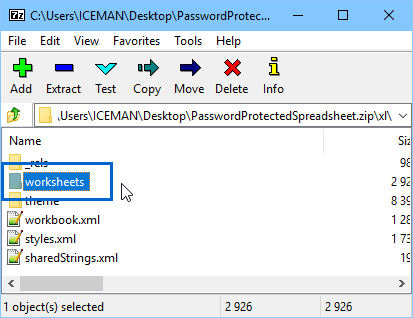
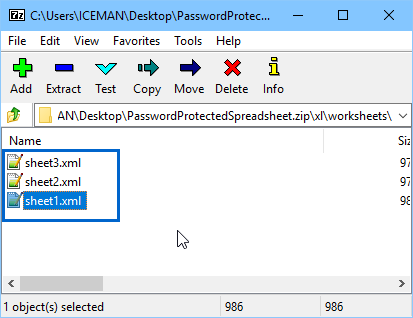
Step 3 Locate the “xl” folder and then the “worksheets” folder. Inside the “worksheets” folder you will see a list of all the worksheets within your spreadsheet. They will be listed as sheet1.xml, sheet2.xml and so on.
Step 4 If you need to remove the passwords from a lot of worksheets within your spreadsheet, this next step can get a little tedious…
Starting with sheet1.xml. Right-click on the file and select Edit from the options. The file will open in Notepad (on a Windows computer).
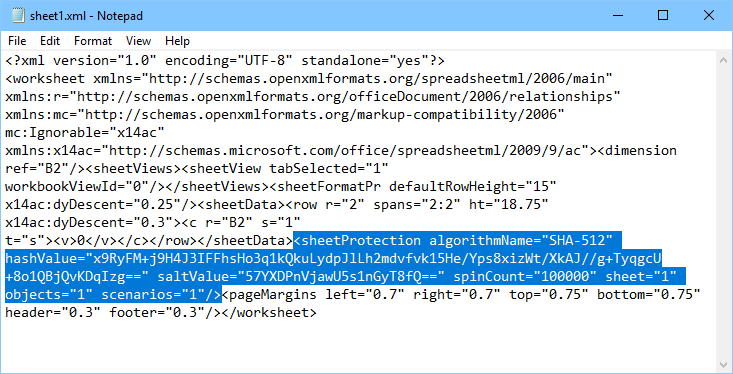
Now search for the line that begins with “<sheetProtection algorithmName=”SHA-512″ hashValue=“. If you are using Notepad, press CTRL+F to bring up the Find dialogue box and search for “<sheetProtection“
When found, it will look something like:
<sheetProtection algorithmName=”SHA-512″ hashValue=”x9RyFM+j9H4J3IFFhsHo3q1kQkuLydpJlLh2mdvfvk15He/Yps8xizWt/XkAJ//g+TyqgcU+8o1QBjQvKDqIzg==” saltValue=”57YXDPnVjawU5s1nGyT8fQ==” spinCount=”100000″ sheet=”1″ objects=”1″ scenarios=”1″/>
Nb: the hashvalue and saltvalue will be different in your file than what is shown here.
Select this entire line – everything between and including the “<” and “>” characters and delete it.
Step 5 Save your modified xml file. Repeat this process for every xml file in your spreadsheet.
Step 6 Rename your *.zip file back to its original extension (*.xlsx or *.xlsm) and “tadaaaaaa!!” all your worksheets will now be unprotected and you will once again have full access to your data and the information stored in them.
NB: If your original file was in binary format (*.xlsb), once you have completed Step 6, open your *.xlsm spreadsheet in Excel and Save as… back to your original *.xlsb format.
Need help?
Have you followed our step-by-step instructions outlined above, but are still having trouble unlocking your worksheets within your spreadsheet?
We can help you!
Since writing this article, we have received many, many requests for help from people (just like yourself) needing to remove the passwords from their within their spreadsheets.